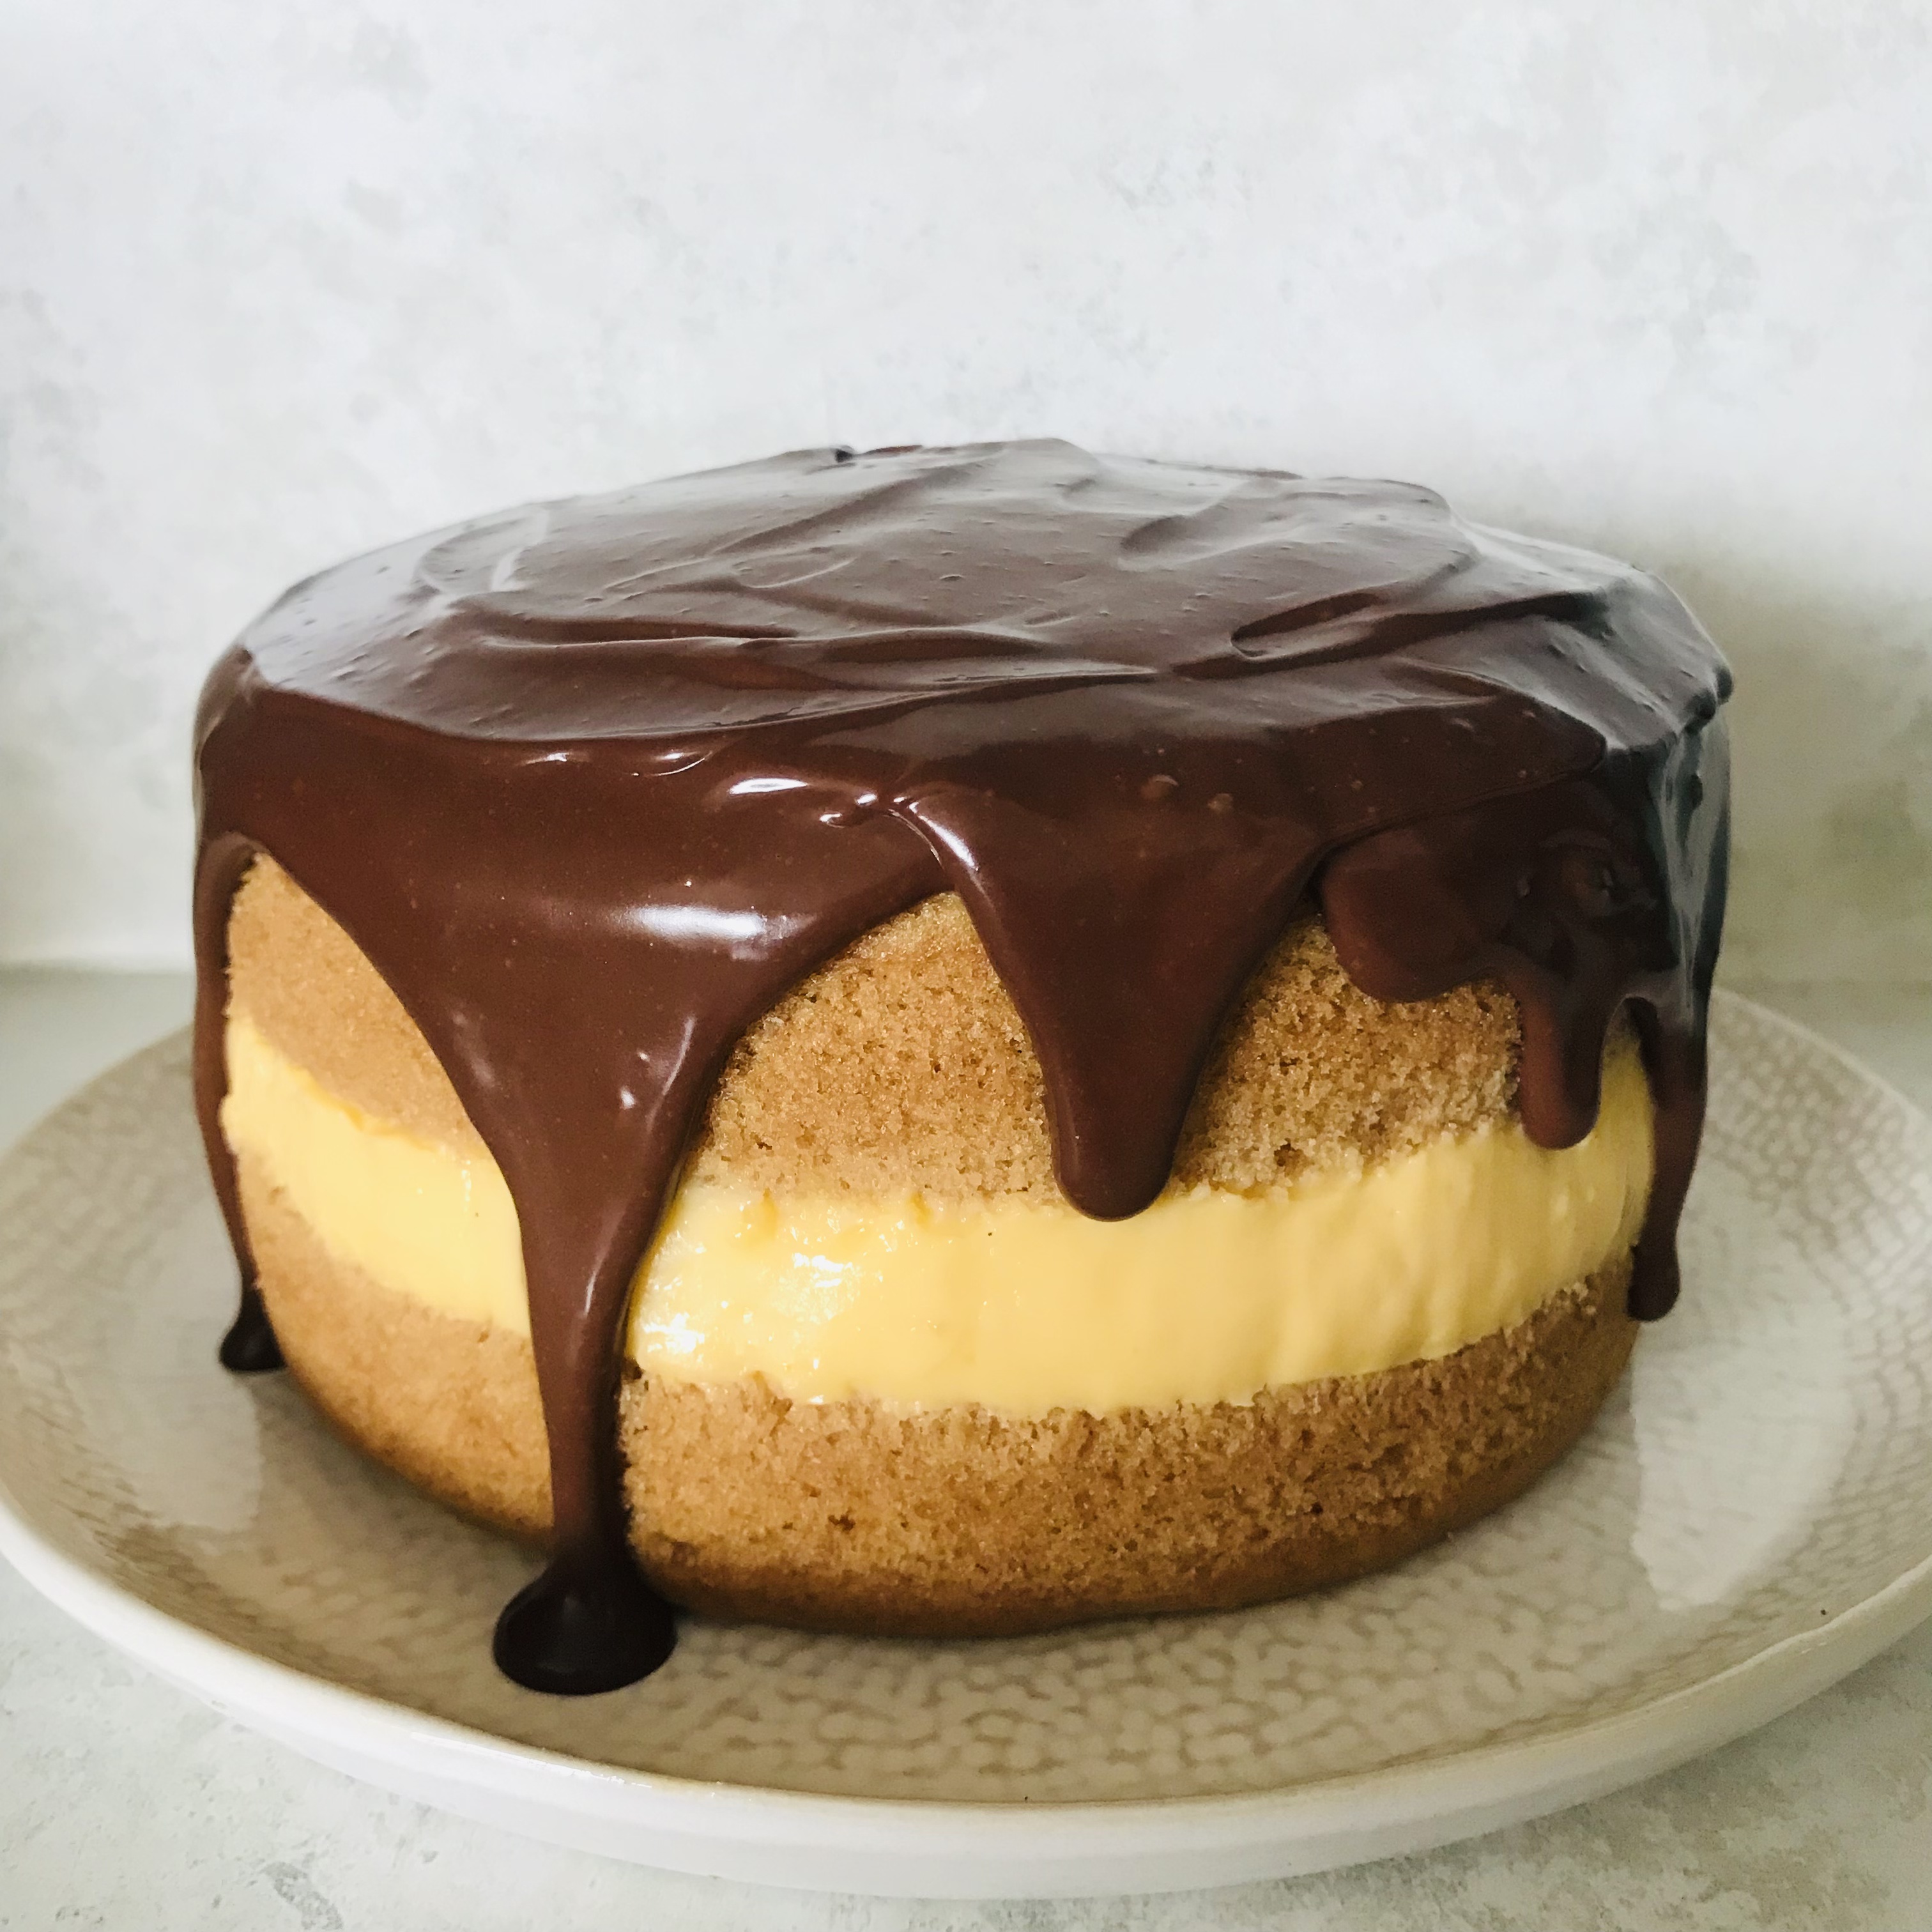
American bakes are my weakness. I’ve been coming up with my own take on a few of them for a long time – some of which have made it on to this blog, including numerous brownies and cookies, Lady Baltimore cake (not vegan but she’s a beaut), Pumpkin Pie, Grasshopper Pie and now Boston Cream Pie, which isn’t a pie at all, but a pillowy-soft sponge cake stuffed with thick custard and blanketed with chocolate ganache. Actually I’m seeing stars just thinking about it.
Long time readers will know that I started this blog when my daughter was a toddler who loved to bake with her mama. She’s a Teen now and still enjoys dabbling in the kitchen between exam revision; although I think she enjoys licking the spatula more than doing anything too strenuous.
Victoria sponge was her recent choice of bake, however not only has she inexplicably developed a dislike of jam, but I also had no whipping cream to hand either, which led me to think of an alternative use for a basic vanilla sponge. Boston Cream Pie fits the bill perfectly, what with chocolate and custard being very much on Teen’s most-loved list.
Apparently in 1996 Boston Cream Pie was named the official state dessert of Massachusetts, and I can see why. I think I enjoyed this more than a trad Victoria sponge, and that’s really saying something. The fact that several states have an “official” dessert has really piqued my curiosity – stay tuned for possibly more vegan versions of official state desserts!
This is quite a tall cake that serves 8 – 10, depending how you slice it. You will need two 6-inch round cake tins, oiled and lined at the base.
The cake needs to set for at least four hours before serving, so it’s best to get started in the morning if you want to eat the cake in the late afternoon, or make it the day before.


For the sponges:
- Dry Ingredients:
- 210g plain flour
- 2 tsp baking powder
- 1/2 tsp bicarbonate of soda
- 135g caster sugar
- 1/4 tsp salt
- Wet Ingredients:
- 210ml unsweetened soy milk, at room temperature
- 90g olive oil (about 100ml)
- 1 tsp lemon juice
- 1 tsp vanilla extract
For the custard filling:
- 30g Bird’s custard powder
- 60g caster sugar
- 175ml milk (any, I use unsweetened soya)
- 125ml single cream, any (I use plant-based Alpro)
- 1 tsp vanilla extract or paste
For the ganache:
- 75ml single cream, any (Alpro soya single cream again)
- 75g dark chocolate
To Make the Sponges:
- Preheat the oven to 180c / 165c fan / gas mark 4.
- Stir together the dry ingredients in a large mixing bowl and set aside.
- In a jug, whisk together the wet ingredients.
- Gradually pour the wet ingredients on to the dry ingredients while whisking until smooth. This is a runny cake mix so quite easy to do by hand with a small manual whisk, but you could use an electric whisk if you prefer. Take care not to over-whisk; you just want a relatively smooth batter with no visible floury bits.
- Divide the cake batter between the two prepared cake tins. Lightly tap the tins on the kitchen counter to release any pockets of air.
- Place the tins on the middle shelf of the oven and bake for 25-30 minutes, until golden and firm. About 27 minutes is perfect in my oven. Test with a skewer; if there’s any batter, return to the oven for a couple of minutes and test again.
- When baked, place the tins on a cooling rack until cool enough to handle, then turn out the cakes and leave to cool for about an hour before sandwiching with the custard (make the custard while the cakes are baking!)


To Make the Custard (while the cakes are baking):
- Whisk the custard powder, caster sugar, milk and about half of the soya cream together in a saucepan.
- Set over a low-medium heat and keep whisking until the mixture thickens and starts to bubble – this will only take a couple of minutes.
- Gradually pour in the remaining cream, still whisking, until it is really smooth and starts to bubble again.
- Remove the pan from the heat and whisk in the vanilla. Set aside for five minutes.
- Pour the custard into a heatproof bowl to cool for about an hour. You’ll need to stir it with a spoon every so often to prevent a slight skin forming, but it isn’t too much of a problem with this creamy plant-based custard.
To Make the Ganache (about half an hour before the cake is ready to decorate/serve)
- Place the cream in a small saucepan and gently heat until the edges begin to bubble. Alternatively, put it in a heatproof bowl and microwave for one minute.
- Add the chopped chocolate to the pan or bowl and stir until it has melted completely and you have a smooth sauce. Set aside to cool a little. Stir it now and again until it is thick enough to coat the top of cake without being too runny – about half an hour.
To Assemble The Cake:


- Remove the disc of lining paper from one of the sponges. Place the disc back into one of the (clean) cake tins and press one of the sponges, top down, into the tin.
- Cut a strip of baking paper and carefully line the side of the tin as shown, sliding it just below the side of the sponge as shown (this is just to stop the custard sticking to the tin).
- Spoon the custard on top of the sponge and spread evenly.


4. Top with the second sponge (domed side up) and press gently into place. The cake will now need to set in the fridge for several hours – about four, or longer if you can. Keep the cake stored in a container (or cover with a plate) to stop the sponge from drying out.
5. When the cake is ready, turn out carefully onto a plate and peel away the baking paper. You can smooth the edges of the custard with a palette knife if you like.


6. Pour the ganache over the cake and leave to cool and set for a little bit before devouring! Store in a container in the fridge and eat within three days.







Leave a Reply