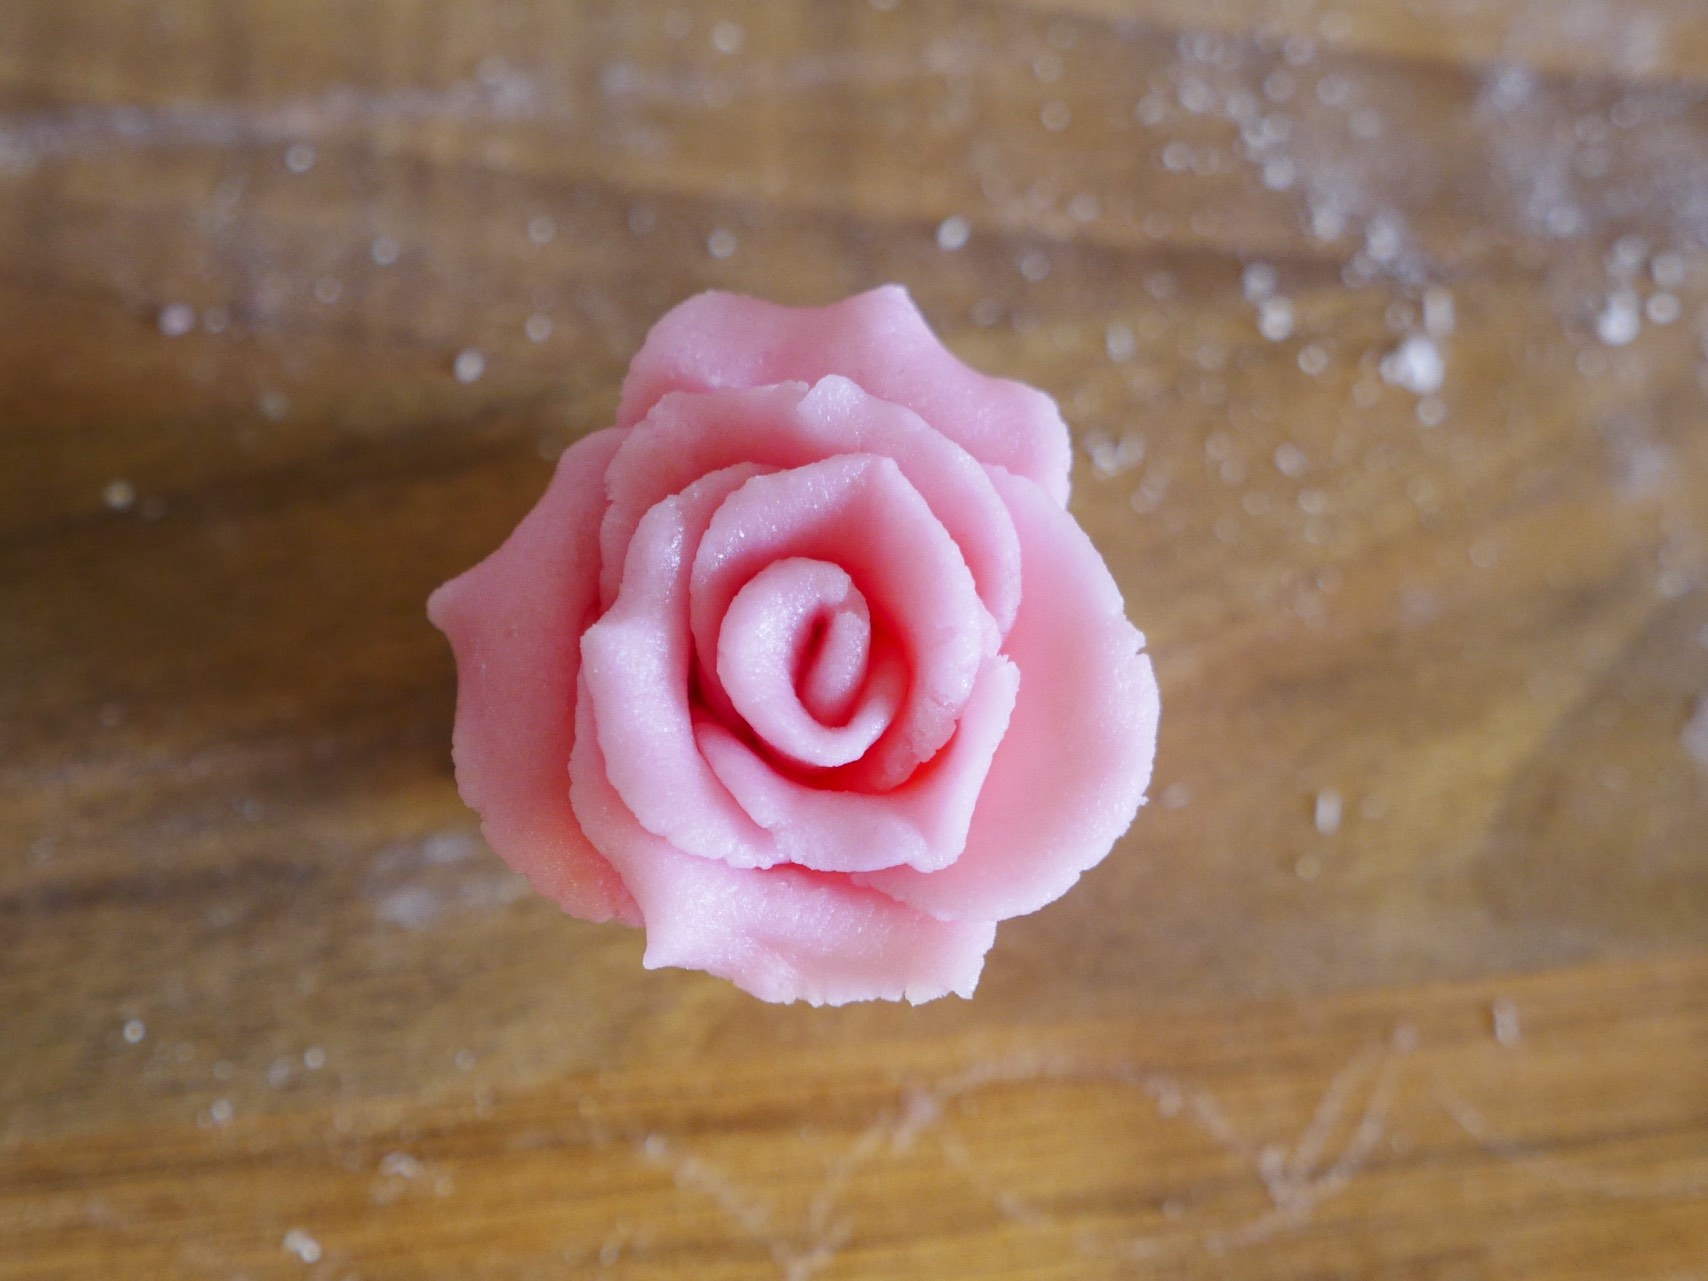
Whether you’re using marzipan or sugar paste (roll-out icing) – edible roses are an eternally popular choice of decoration for all kinds of cakes, from birthdays to wedding to anniversaries. They can range in size from cute little rosebuds to full bloom open roses. There are hundreds of tools and equipment available from sugarcraft shops to help you create the perfect rose, and every cake maker will find their own favourite way of making them. It can be a bit tricky at first, but once you get in your stride you’ll be able to make a lovely rose within just a few minutes! There are thousands of tutorials out there, but I am hoping to show with this one just how easy it is to create a simple rose by hand, with no special equipment.
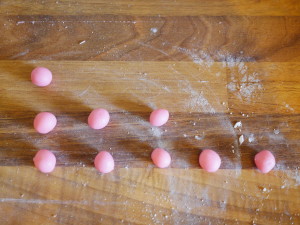
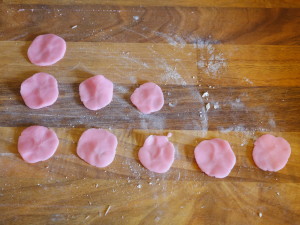
Lightly dust your work surface with icing sugar. Pull off 9 pieces of marzipan or sugarpaste, each roughly the size of a cherry stone, and roll into balls. I have laid them out as above to demonstrate the layering stages. Using your thumb and forefinger, gently flatten each ball into a disc shape – a petal! They will look similar but not identical – and that of course is the true beauty of a real rose. The top (first) petal will be your base.
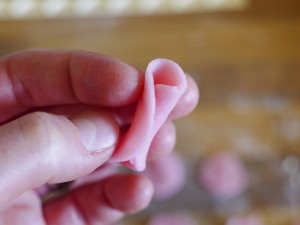
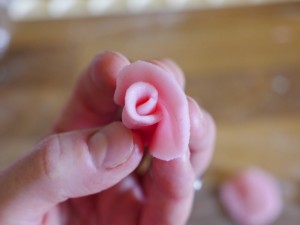
Take the first petal, and roll it, scroll-like, as shown. Take another piece and wrap it over the join, mainly sticking the lower half of the petal. Marzipan is wonderful as it simply sticks to itself – no need for water or edible glue.
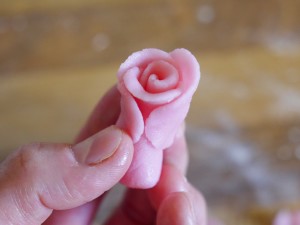
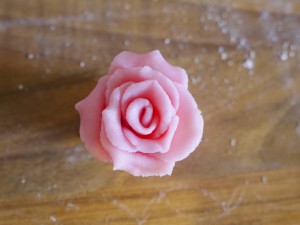
Keep wrapping the second and third petals as shown, each one overlapping the last. Use the tip of your finger to lightly push the tops of the petal outward for a natural appearance. Gently squeeze the top each petal into a slight ‘v’ shape, as a natural rose has. There are plenty of tools and equipment out there to help make the perfect edible rose, but I am hoping to show here that anyone can do this with no tools – just a bit of practice! Continue now with the remaining five petals; overlapping, lightly opening the tops and squeezing the edges. Your rose will look very tall/long by the time you’ve finished – simply slice off the bottom and place the finished rose where you want it! Making a rose is harder to explain than it is to actually do – this rose took me just a couple of minutes. Good luck!
Notes:
- If the outer edges of the rose look a bit ‘rough’ (although some is quite desirable!) dip your finger in water and lightly rub against the roughness to smooth it.
- For a bigger rose, use bigger balls of marzipan/sugarpaste to begin with; also, to add more layers, prepare another line of 7 petals and continue wrap them as before.
- Professional Petal/Flower/Florists pastes are not the same as marzipan or sugarpaste, and the very simple and tactile technique above will not work with them. (They need to be rolled paper thin and a cutter is used to make the petals).
