I passionately believe that you can make most things at home better – and cheaper – than what you could buy in the supermarket. You also get a lovely glow of satisfaction knowing you made it yourself! However, there are some things in life that might just put you off baking forever – and making proper puff pastry is one of them. There is no shortcut in making true puff pastry. Those thin, delicate ‘layers’ of delectable, buttery, melt-in-the-mouth pastry don’t occur by anything other than blood, sweat and tears. It also takes about a decade to make. If you really want to have a go, then I highly recommend reading instructions written by a professional. If however, like me, you’d happily settle for something that tastes and looks reasonably flaky but is a lot less strenuous to make, then I heartily recommend making rough puff pastry (sometimes called flaky pastry – they are pretty much the same thing).
The fastest rough puff is best whipped up (very briefly) in a food processor. As I mentioned in my guide to shortcrust, the less a pastry is handled, the less you will develop the gluten, which is a good thing. This, along with a dash of vodka and/or lemon juice to temper the gluten, helps keeps the pastry ‘short’, resulting in tender, flaky loveliness – as opposed to hard and chewy school-dinner crusts. Once you have made the dough, it needs to be initially rolled and folded (instructions below), rested in the fridge then ‘turned’ – literally meaning you turn it so that you re-roll in the other direction, then rest it again. It will need at least three ‘turns’, with a rest period of about half an hour between turns. If you start in the morning you can certainly have it completed and ready for use by the afternoon, but don’t be afraid to make this the day before, or even several days before you need it; just keep it well wrapped in cling film in the fridge at all times. In fact, you could double or even triple the quantity shown below, complete all the rolling/turning then divide as you please and freeze in individual blocks. That way you don’t need to go to the trouble of making pastry quite so often. (Just defrost in the fridge, the night – or morning – before you need it.)
Flaky, rough-puff pastry is fantastic for faux-Danish pastries and the like as well as sausage rolls, slices and pie crusts.
This amount makes about 450g (16oz) of pastry; enough for a 1-litre pie dish double-crust (top and bottom). I use a traditional and inexpensive Falcon pie dish – this size cuts into four very generous slices.
200g plain flour
70g butter (or block Stork for vegan pastry) cubed and fridge-cold
70g Trex/vegetable shortening, fridge-cold
75ml / 4 tbsp ice-cold water
15ml / 1 tbsp lemon juice
15ml / 1tbsp vodka (if you don’t have any, use an extra tablespoon of lemon juice instead).
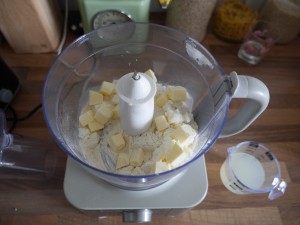
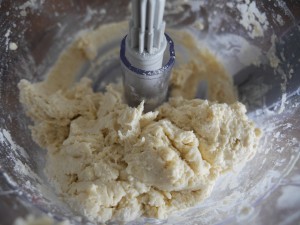
Place the cold flour and cubed, fridge-cold butter blobs of Trex into your food processor. Blitz for just a couple of seconds until roughly mixed. Clumps of fat are good and desirable. Pour in the ice-cold water/vodka/lemon juice mix and blitz for just a couple more seconds. Empty the dough onto a clean worktop – dusted with flour – and bring it together with your hands.
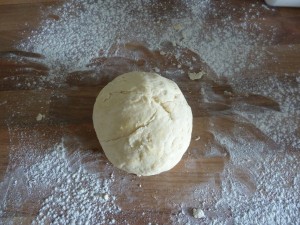
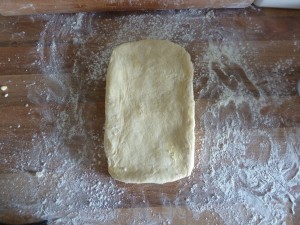
Quickly form a ball and roll it into a chunky rectangle, about 4″ x 8″ as shown above.
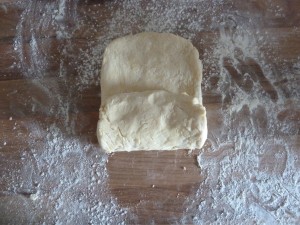
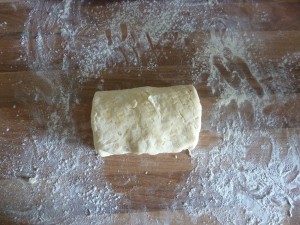
Imagine the rectangle split into three sections. Fold the bottom third upwards. Now fold the top over that. (Think ‘up and over’). Wrap in cling film and place in the fridge for a good half an hour.
Turn:
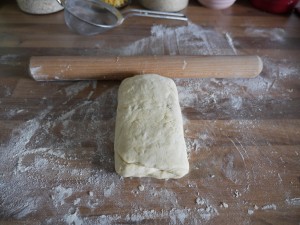
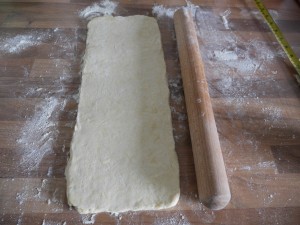
Unwrap, and turn it anti-clockwise so that top fold is now on the left-hand side. Roll it into a rectangle again; the dough will feel a little firmer and easier to handle. This rectangle should be longer – about 4″ x 10″.
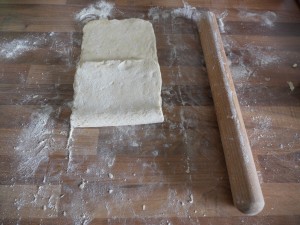
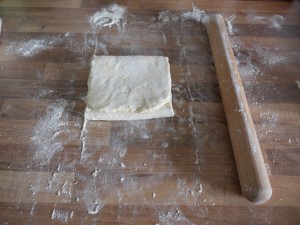
Again, imagine the rectangle is in three sections. Fold it ‘up and over’ as before. You have completed one ‘turn’. Wrap in cling film and rest in the fridge for about half an hour again. Repeat the turn/roll/fold process as shown above twice more, returning to the fridge to rest between turns.
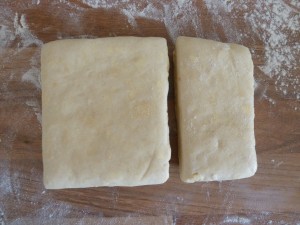
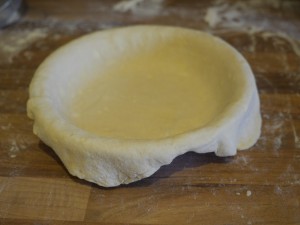
To use the pastry for a double crust pie, slice off about 1/3 of the slab and reserve in the fridge – you will use this later for the lid. Roll the remaining 2/3 and line your pie dish. If possible, let it sit in the fridge for half an hour before slicing off the over hanging pastry.
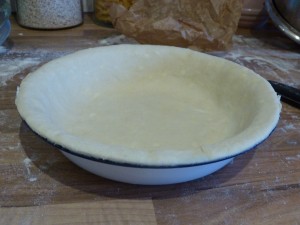
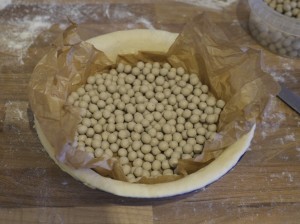
To blind bake, preheat the oven to 190c /375f /gas mark 5. Scrunch up a large piece of baking paper and place in the tin. Fill with baking beans and bake for 8 minutes. Remove from the oven and carefully lift out the baking paper – holding the baking beans within – and place into a heat-proof bowl. (Leave to cool before touching them). Put the pie dish back in the oven and bake for another five minutes – this should dry out the pastry base. Remove from the oven, and fill according to your recipe.
For the lid, roll out the remaining pastry for the ‘lid’ and secure to the pastry base edges using a little beaten beaten egg. Brush egg over the top to give a lovely shiny, golden glaze.
Bake according to your recipe (usually 25 minutes at 200c.)
