Salted Caramel Brownies
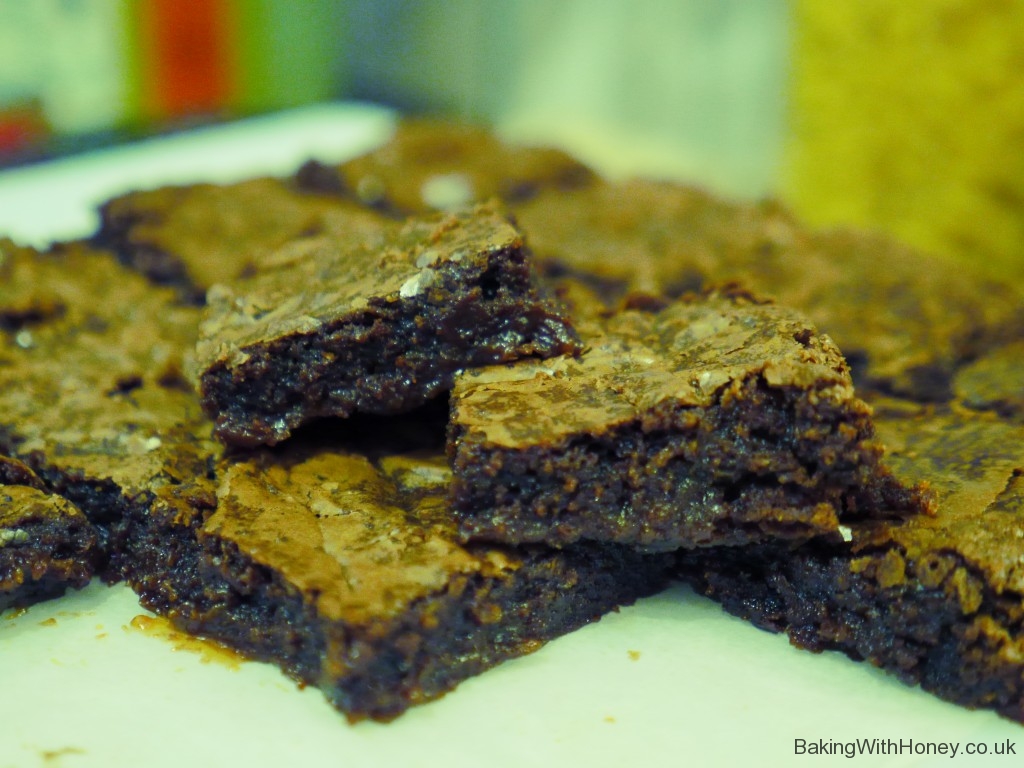
For my very first recipe post, I have decided to share my recipe for salted caramel brownies as I probably make these more than anything else. I’ve tried hundreds of brownie recipes over the years and I can finally say my hands-down favourite is my own; a scrumptious mash-up of my favourite flavours with minimal effort involved. I am convinced that certain friends only visit me because they know that, more often than not, I will whip up a batch of these for them with a couple of hours’ notice! Salted caramel is a flavour that shows no sign of disappearing, although it is not for everyone. If you prefer a more traditional caramel brownie, just use a regular caramel sauce. You’ll still need to add salt to the brownie batter – it won’t taste salty, it just rounds out the overall flavour.
Brownies can be made by everyone. The only equipment required is a couple of bowls and a spatula – brownies should never, ever be made with a mixer. This is a terrific recipe to get your little ones to help with. Children, to be fair, do a fairly shoddy job when it comes to mixing a cake, but this lends itself very well to brownies which require nothing more than a bit of lazy spatula stirring.
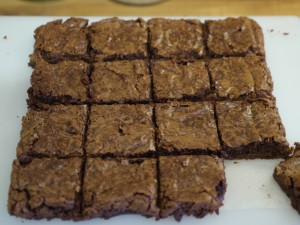
This recipe fits neatly into an 9” x 9” tin. You should always grease and line your tins for brownies, especially with this recipe, as the caramel tends to seep a little and can make removal tricky. Cut your baking paper a bit bigger than the tin so that you can lift out the brownie slab with ease once it is cool. Then you can easily pop it on a chopping board and cut into squares. (Or rip off chunks and devour while no one is looking. It is up to you.)
I’ve never met anyone who didn’t like a brownie, but I am fully aware that in this world of tragic injustices, there are real, luscious, fudgy brownies and then there are nasty flat squares of dry sponge masquerading as brownies. If you are going to do a brownie, do it right. These are gorgeous alone or served slightly warm with a dollop of good quality vanilla ice-cream. Phwooar!
Ingredients:
100g / 3.5oz good quality plain/dark chocolate (cocoa solids 70% min)
125g / 4.5oz unsalted butter, cubed
1/2 tsp sea salt
225g / 8oz caster sugar or light brown soft sugar (or a mix as you please.)
2 large eggs (in the US use extra large)
10g / 2 tbsp cocoa powder
80g / 3oz plain flour (all-purpose)
Approximately 100ml / 3.5oz caramel sauce*
*Either shop bought (Sainsbury’s do a decent one in a squeezy bottle) or home made. You can try my Easy 10-Minute Caramel Sauce Recipe if you like; just salt it to your taste. (I make a big batch and freeze into 100ml portions so I’ve always got some handy!) If using a salted caramel sauce, reduce the salt in this brownie recipe to just a good pinch.
Preheat your oven to 170c / 325f / Gas mark 3.
Grease and line a 9″x 9” tin.
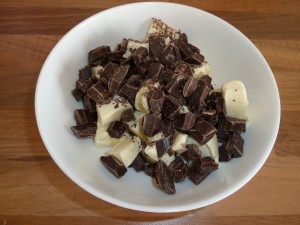
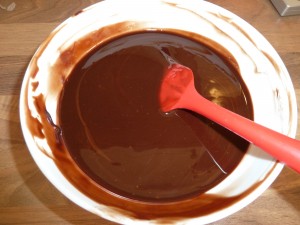
First you need to melt your chocolate and butter together, so chop them up into chunks. If you like to use a bain marie then please do. I find a bain marie to be a bit of a palaver and usually just do it in a jug or bowl in the microwave for about 60 seconds, stirring half way through. Do keep an eye on it though. You just want to melt the chocolate and butter, not cook it til it’s boiling! Once you have a smooth, glossy chocolate sauce, stir in the sea salt and set it aside to cool a little.
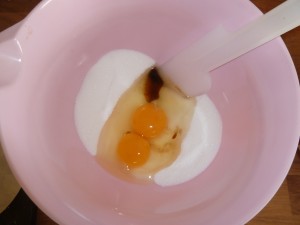
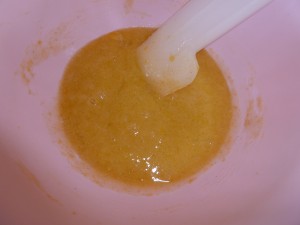
Measure out the sugar into another bowl. Add the vanilla and eggs and stir gently, just until you can’t see the sugar. It’s absolutely essential to avoid overmixing. These are brownies, not cakes; you want as little air as possible in these babies. A silicone spatula is best for this – scrape around the sides of the bowl and “cut in’ to the mixture – a bit like outlining a figure eight, but don’t break your back over it!
Now tip in your slightly cooled chocolate mix. Again, stir gently. You want to thoroughly incorporate the chocolate but don’t overdo it.
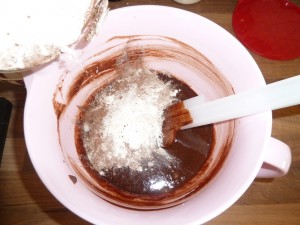
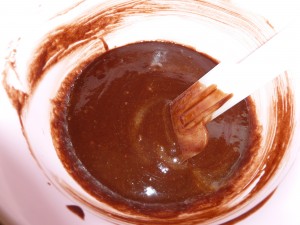
Sift in the flour and mix, remembering to scrape down the sides, until you can’t see any white bits.
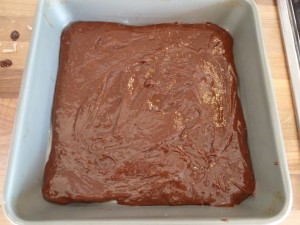
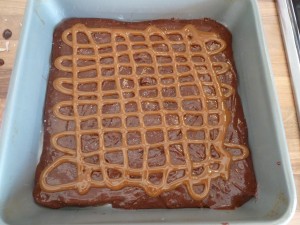
Pour about half of the brownie mix into the prepared tin. Smooth with a palate knife or the back of a spoon. Now drizzle the caramel sauce all over, but try to avoid going right to the edges. It will spread as it cooks!
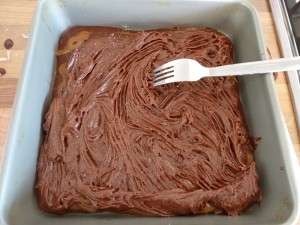
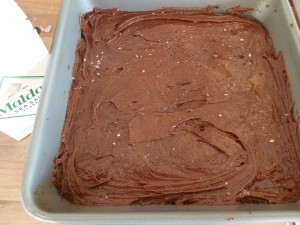
Spoon the remaining brownie mix all over the top. Distribute evenly and spread gently until you have completely covered the caramel sauce. I use a fork for this as it ‘grips’ the brownie mix better with minimum disruption to the layer underneath. Smooth the top and sprinkle a few extra flakes of sea salt if you like. Place the tin in the centre of your preheated oven.
This need exactly 28 minutes in my oven, but yours might be slightly different.
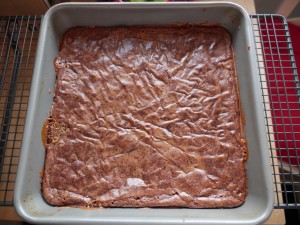
Check at this time; the brownie slab should have the classic shiny top and the edges should feel ever so slightly ‘done’. Not firm – that means it’s overcooked. But it shouldn’t be still at a runny batter stage either. The centre will be soft but again, not runny. It’s sometimes a tricky judgement but try to remember that brownies carry on cooking and will firm up as they cool; also, no-one likes a brownie that bites back.
Place on a cooling rack and allow to cool for a good half an hour or so before attempting to remove from the tin. If you can bear to wait that long. (I know, it is hard.) This will easily cut into around 16 squares and will keep very well in an airtight tub for a few days, however in the presence of friends and family, there is no documented evidence that good brownies ever lasted that long. The squares also freeze brilliantly and defrost in no time at all.
