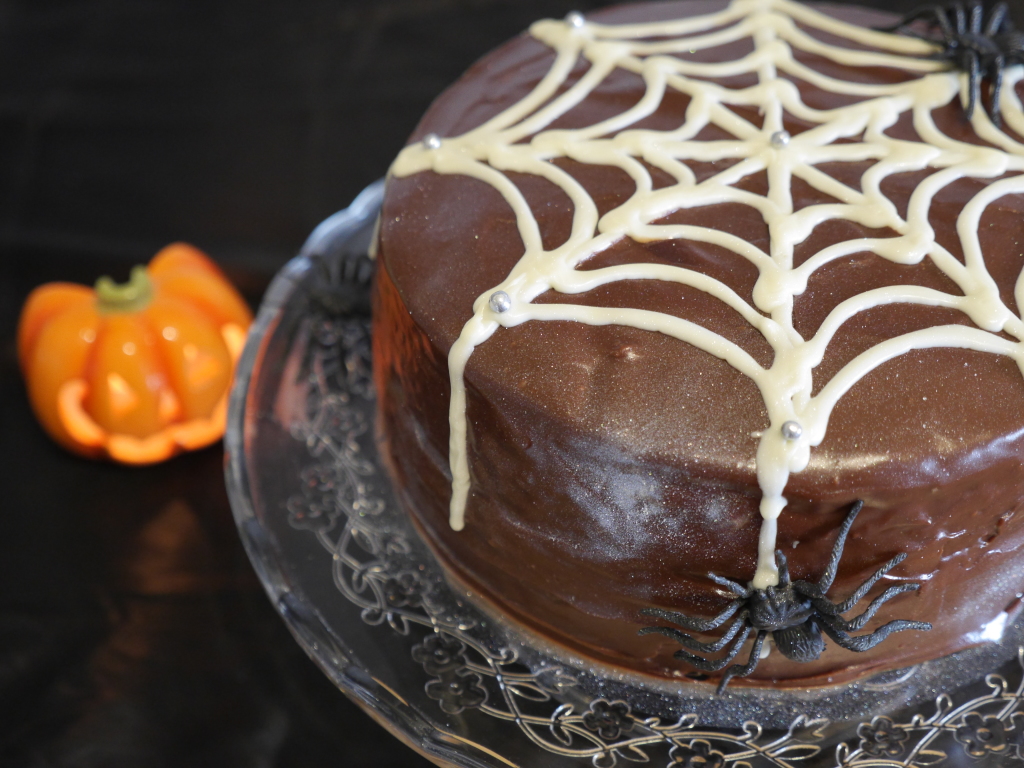
Spooky Chocolate & Ginger Hallowe’en Cake
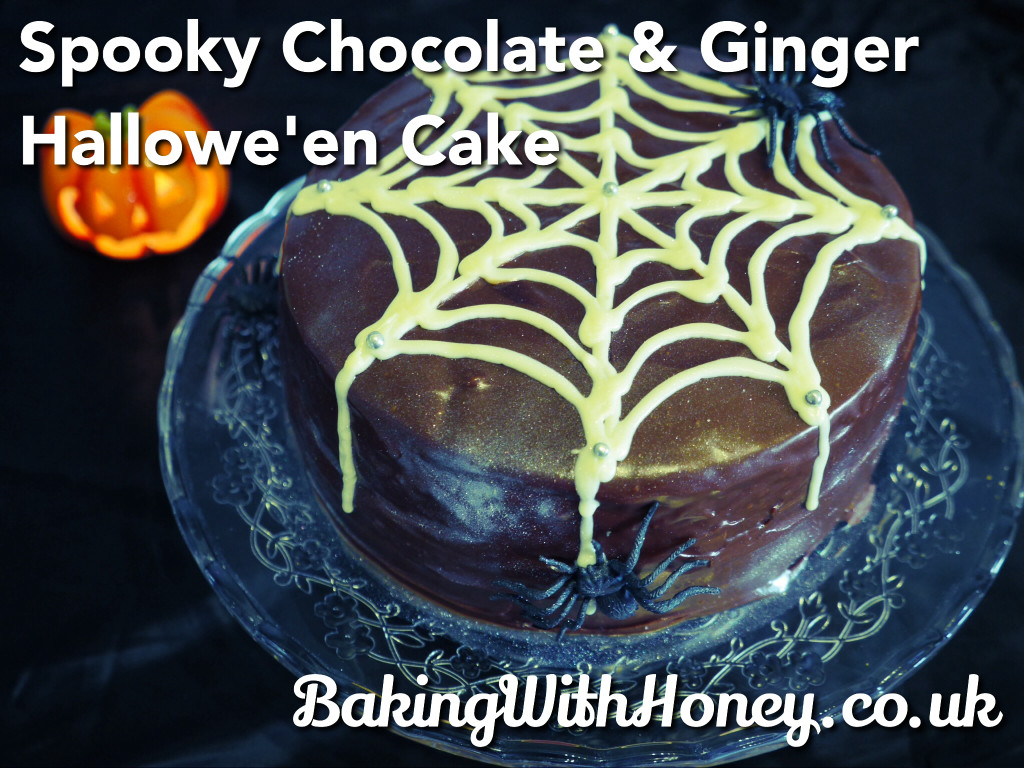
Thoughts of a Hallowe’en bake automatically conjured up visions of pumpkin-themed everything for me. After a few failed attempts at incorporating pumpkin into a cake, however, I decided to revert to that other oh-so-warming flavour; ginger. For me, the smell of an earthy ginger cake simply screams autumn – and everyone adores chocolate! This is a moist cake, full of flavour – but light enough to be enjoyed by children. It’s also a big cake; two hefty slabs sandwiched together with the dreamiest chocolate buttercream, coated with a traditional chocolate glaze and finished with a white chocolate spiderweb. This is the perfect cake for a Hallowe’en party; you don’t have to do the spiderweb, but for something so effective and fun, it is alarmingly easy – so why not?
You will need two 8″/20cm round cake tins, at least 2.5 inches deep. Grease the tins and line the bases with circles of baking paper.
For the cake:
210g/7.5oz softened, unsalted butter
210g/7.5oz soft dark brown sugar
2 large eggs (US extra large)
4 stem ginger balls, grated
4 tbsp stem ginger syrup (from the jar)
4 tbsp treacle
400g self raising flour
4 tsp ginger
1 tsp cinnamon
1 tsp nutmeg
210ml milk
For the chocolate buttercream:
50g dark chocolate, melted and slightly cooled
50g soft, unsalted butter
100g icing sugar
1-2 tbsp milk
For the chocolate glaze:
75g dark chocolate
55g butter
150g icing sugar
2 tbsp hot water
For the spiderweb:
You can use an icing/writing ‘pen’, ready to use and readily available in supermarket baking aisles. Alternatively, you can melt approximately 50g of white chocolate and pour it into a piping bag (use a medium writing tip). The plastic toy spiders were from Sainsbury’s – £1 for a pack of ten.
To make the cake:
Preheat the oven to 160c/325f/gas mark 3.
Prepare everything you need – measure the butter and sugar into the main mixing bowl. In a separate bowl, combine the grated ginger, syrup and treacle. In another bowl, combine the flour and spices. Measure the milk into a jug.
Cream together the butter and sugar until very fluffy. This can take several minutes even using a mixer.
Add the eggs, one at a time, beating well until thoroughly combined.
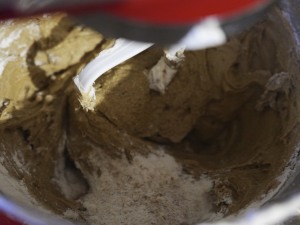
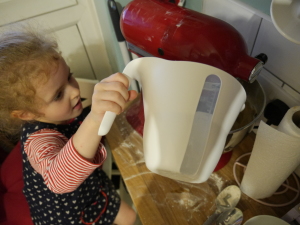
Add the ginger, syrup and treacle in one go and mix again. Now, add the flour/spices and milk alternately – beating well between each addition -until everything is well mixed. You might need to scrape down the sides of the bowl now and again.
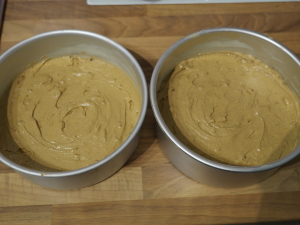
Divide equally into the prepared cake tins. If you’re a bit OCD like me, you might like know that around 650g per tin is what you’re aiming for. Ahem.
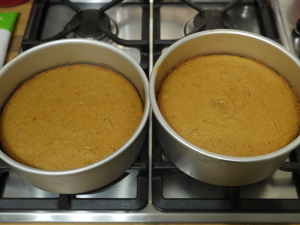
Bake for 40-45 minutes in the centre of the preheated oven. Test with a skewer to check if they’re done; the skewer should be clean. The cakes will look beautifully golden and the tops will spring back when you lightly press them – look out for a little shrinkage around the edges, too. When they’re done, pop them on a cooling rack to cool in their tins. If you have any ginger syrup left in the jar, pour it over the cakes while they are still hot, for extra yummy moistness. When the cakes are cold, remove from their tins and store in an airtight container (or a cake tin) until you’re ready to decorate – this cake tastes better the next day, so feel free to make it in advance.
To make the chocolate buttercream:
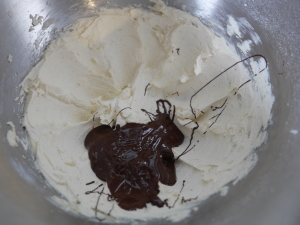
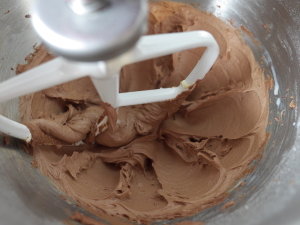
Melt the chocolate in a bowl and set aside to cool for a few minutes, while you beat the icing sugar and butter together until pale, creamy and fluffy. Switch off the motor and pour in the melted chocolate. Begin mixing again – slowly – until it is incorporated. Then switch the mixer on high and beat until you have a fluffy chocolate buttercream. If it looks a bit grainy or heavy, don’t hesitate to beat in 1-2 tablespoons of milk to make it really creamy.
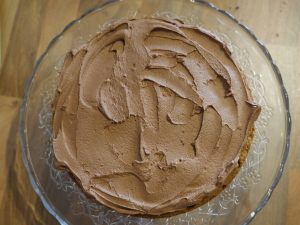
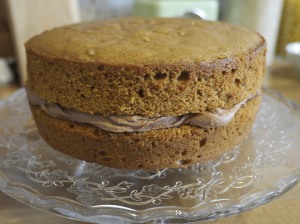
Place a cake on a plate or cake stand of your choice and spread all the chocolate buttercream evenly all over, then place the other cake on top (upside down for the flattest top!). Smooth any bulges of buttercream.
To make the chocolate glaze:
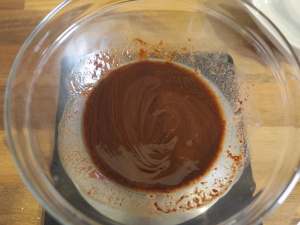
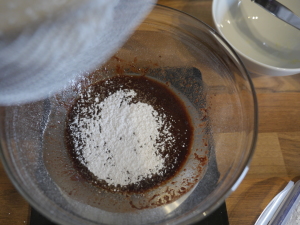
In a large, microwavable bowl, place the chocolate and butter. Cover and microwave on high in two so second blasts; this should be enough to melt the butter and chocolate. Gently stir together until combined. Now, sift the icing sugar into the bowl.
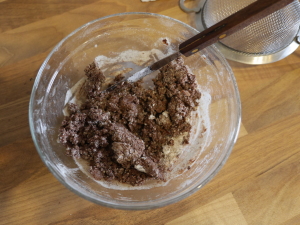
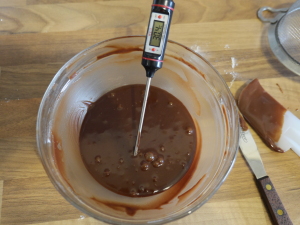
Bring the mixture together – it will probably look lumpy an awful, that’s ok – add a tablespoon of hot water (from the kettle) and quickly mix, It will immediately start to look smoother. Keep going until lump-free and shiny; you will probably need another 1-2 tbsp of water. When you are happy with the glaze, let it cool for about ten minutes, stirring now and again to avoid it setting. The ideal temperature to use a glaze – so that it coats the cake evenly, rather than sliding off thinly – is about 30c. This takes about ten minutes, give or take.
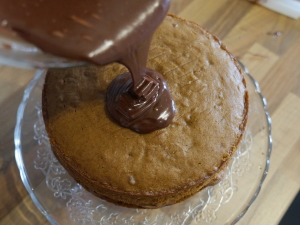
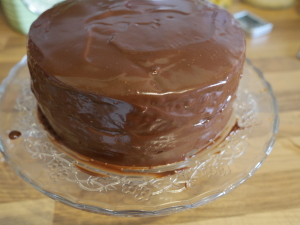
With one hand, pour the glaze into the centre of the cake; with the other hand, use a palette knife – or the back of a large spoon, if you’re desperate! – to smooth the glaze into place. Guide it to the edges of the cake, so that it thickly coats the cake but also runs down the sides of the cake. Smooth the top and sides – slapping on a bit more where required to fill in any gaps – until you’re happy with it. You’ll need to work quite quickly before it sets, but don’t worry about imperfections. There’s nothing a dash of edible glitter and a plastic spider can’t fix!
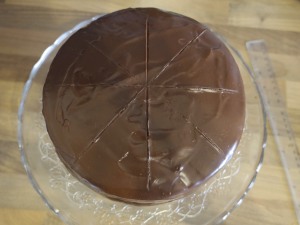
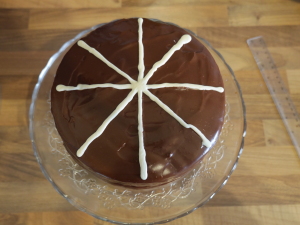
Use the edge of a ruler to mark a star on the cake as shown. This makes it easier to pipe neat lines!
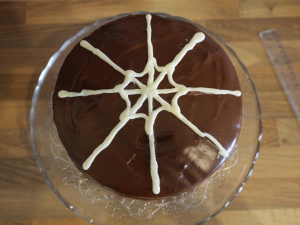
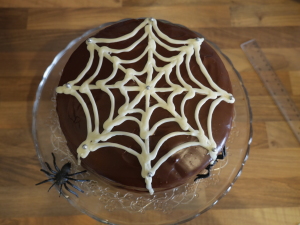
Starting in the centre, connect the lines with saggy, cobwebby lines as shown. Then repeat until you’ve completed the cobweb. Decorate with all the spooky stuff you like! I sprinkled edible glitter and stuck plastic spiders on before the chocolate had a chance to set. Make sure you remember to remove any non-edible decorations before serving. This cake will keep for a few days in a tin.
