Raspberry & Hazelnut Cheesecake (Low-carb, gluten-free)
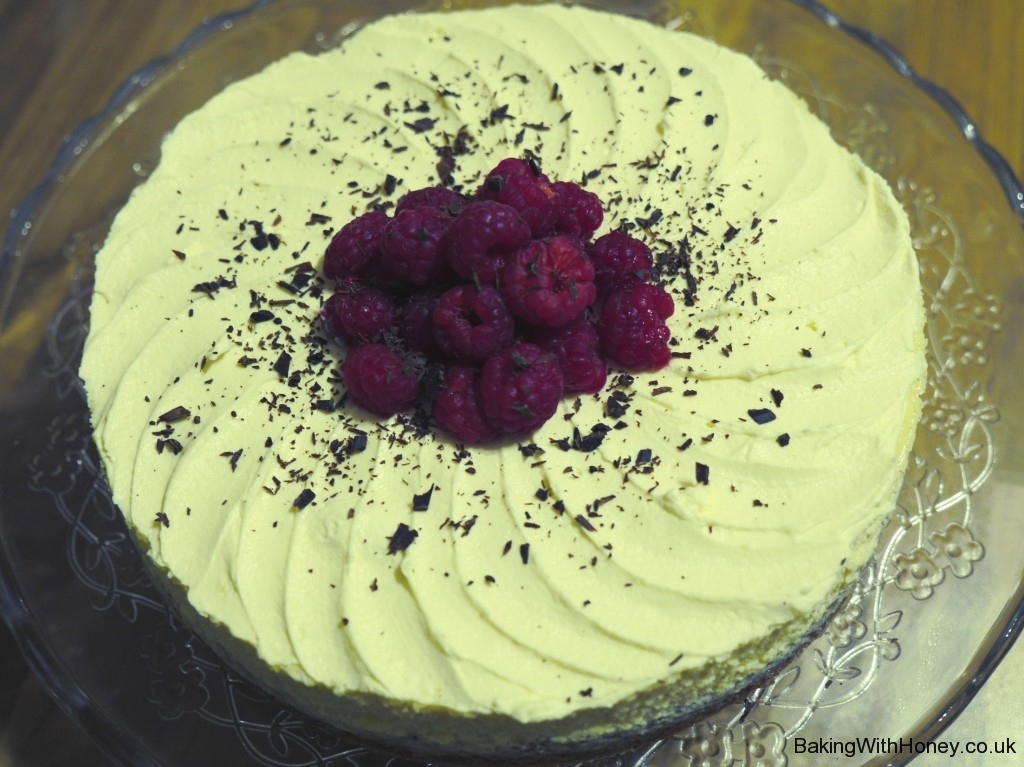
This is my first cheesecake recipe post (it certainly won’t be my last) and it also happens to be both low-carb and gluten free, although you’d never know it. This is a rich and creamy treat that’s not overly sweet, perfect for an after dinner dessert. I designed it with the low-carb fans in mind (hence the inclusion of Truvia, a natural Stevia-based sweetener, although you can use the sugar amount suggested, depending how strict you are). It is also happily (though accidentally) gluten-free. A cheesecake traditionally uses a base made of crushed biscuits and butter, which of course is neither low carb nor wheat free; so this is a two-part bake (minimal effort I might add) which requires you to bake the hazelnut biscuitty base first, then make up the cheesecake itself and bake again. I use ground toasted hazelnuts, which I easily found in the Tesco baking aisle. If you can only find chopped hazelnuts, blitz them in a mini chopper, processor or coffee grinder until fine. The hazelnut base can be made the night or morning before you need it, it doesn’t really matter as long as it’s had a chance to cool completely, and more importantly, set hard, before pouring the cheesecake filling on top. For all my cheesecakes, I use this amazing 20cm ‘PushPan’ from Lakeland. It’s a loose-bottomed cake tin with a watertight seal, making total ease of baking a cheesecake in a water bath – no more faffing with cling film and tinfoil!
This is a great dessert to make in advance – all cheesecakes taste infinitely better the next day when they’ve had time to rest (or a good eight hours), and the flavours can really come through.
You will need a 20cm loose-bottomed cake tin – either springform or a watertight PushPan (as above). The bottom should be lined with a circle of baking paper. You’ll also need plenty of clingfilm and tin foil for wrapping the tin for the water bath later (unless you’re using a PushPan, obviously) and a large, deep roasting tin – one that will comfortably accommodate the cheesecake tin.
Serves 8-10. I have tentatively estimated that each slice contains 4g net carbs. (Based on 10 slices, using Truvia not sugar).
For the hazelnut biscuit base:
50g butter, cubed
130g toasted and ground hazelnuts
30g Truvia (natural Stevia-based sweetener) or 50g caster sugar.
To make the biscuit base:
Preheat the oven to 180c /350f / gas mark 4.
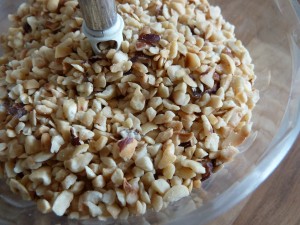
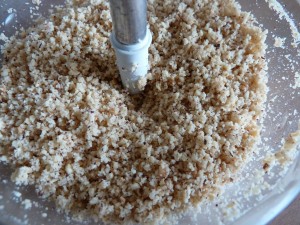
If your hazelnuts aren’t already ground, place the chopped nuts in a processor and whizz until fine. Tip into a large bowl.
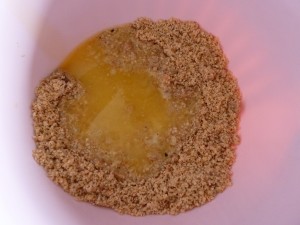
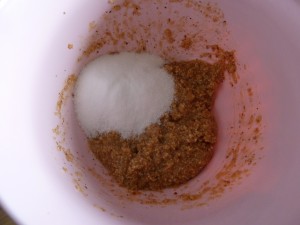
Put the cubed butter into a microwavable jug or bowl and melt for about 30 seconds or so in the microwave (until just about liquid). Add the butter and Truvia (or sugar) to the ground hazelnuts and combine thoroughly. You can do this easily yourself, just using a spoon.
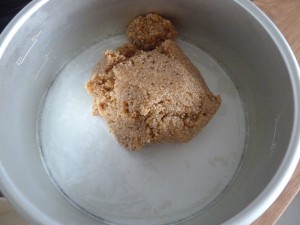
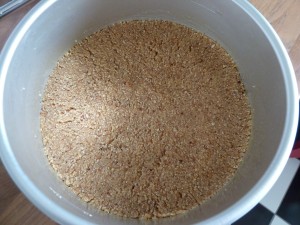
Spoon into the bottom of your greased and lined tin. Flatten until smooth with a palette knife or use the back of a spoon. Bake in the centre of a preheated oven for about 15 minutes. The edges will look golden, but it will appear completely soft and uncooked. Do not worry – it will firm up as it cools. Set aside to cool completely – do not remove from the tin – before continuing as below.
For the cheesecake:
300g full fat cream cheese (I use Philadelphia).
300ml tub of double cream (use 120ml in the cheesecake mix, use the remaining 180ml for decorating later)
2 medium eggs
20g Truvia (or 60g caster sugar)
1 tsp lemon juice
1 tsp natural vanilla extract
4-5 drops natural raspberry flavour (optional; I use this one from Lakeland)
150g punnet of fresh raspberries, washed and gently patted dry (reserve 50g for decorating the cooked cheesecake)
A square of very dark chocolate, curled or grated for decoration (optional)
To make the cheesecake:
Preheat the oven to 180c / 350f / gas mark 4.
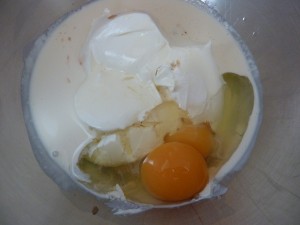
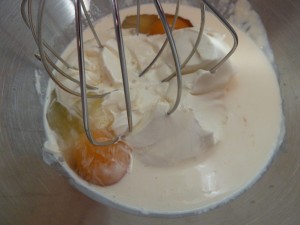
Remembering to use only 120ml of double cream (reserve the rest for later), put all of the cheesecake ingredients, apart from the raspberries and chocolate, into a mixing bowl and whisk (either by hand or use a mixer) until completely combined and smooth. Try not to beat it to within an inch of its life – cream cheese is a sensitive soul that has a tendency to become very watery if manhandled.
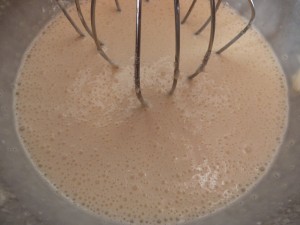
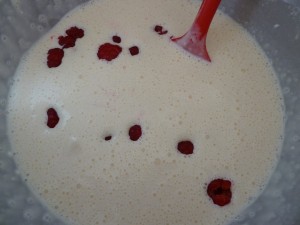
Once it looks smooth and creamy, gently stir in 100g of the raspberries. (Reserve 50g for decorating later.)
If you’re using a springform tin, you’ll need to wrap around the sides and bottom with cling film and tin foil to stop the water seeping into the cheesecake. Wrap cling film a few times around the sides (right up the edges) and the bottom of the tin, covering it as best you can, then wrap with tin foil. Hopefully you will create a watertight barrier. (Or you can just use the watertight tin as mentioned above. Ahem.)
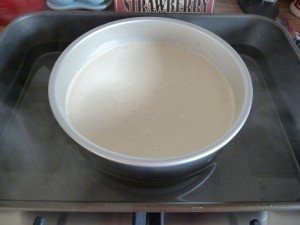
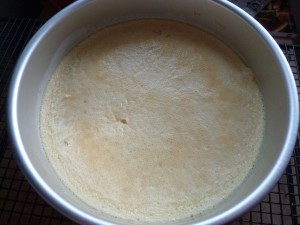
Pour the mixture onto the cold biscuit base in the well-wrapped tin and put the whole thing into a large, clean roasting tin.
Bring a full kettle to the boil and pour into the roasting tin. The water level should come about half way up the sides of the cheesecake tin.
Carefully lift the roasting tin (it will be quite heavy) and place in the centre of the preheated oven for about 30 minutes. Check it after this time; there should be a little bit of wobble in the centre but not a lot. Remember the cheesecake will firm up as it cools. If you think it needs another 5 minutes or so then put it back in, but don’t over bake.
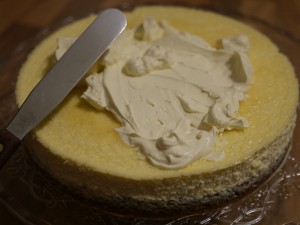
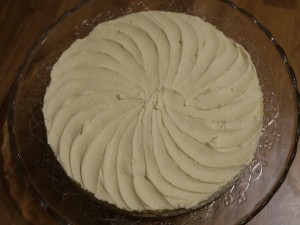
Once baked, allow to cool completely in the tin before placing it (still in its tin) in the fridge. Keep it in a large air-tight tub or at least cover the top with a bit of cling film. When you are ready to serve, preferably allowing a minimum eight hours’ resting time in the fridge, remove from the tin and transfer to a serving plate. Decorate with the remaining cream (whip it until nice and thick first!), raspberries and a little grated chocolate, if desired. (Do it your way or see my guide below.)
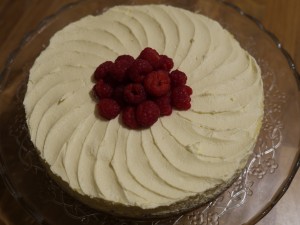
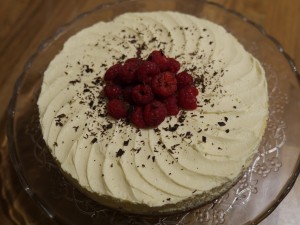
To create the swirly cream effect, just smooth the cream evenly all over the cheesecake, then, using a palette knife or the ‘wrong’ edge of a table knife, gently drag the cream from the centre outwards, using fine, fast, curved strokes. Do this all the way around then clean up the outer edges by gently running a (clean!) finger all the way around, taking away any straggly bits of cream. Place the raspberries in the centre and grate a square of very dark chocolate over the top.

this sounds super delicious, love hazelnut. thanks for sharing this recipe.
Simon
You’re very welcome! Hope you enjoy it.