Veganising Nigella: Chocolate Peanut Butter Cake
There is a tantalising and nerve-wracking sense of change in the air as I write.
This recipe might just be my last blog post written in London as we are about to sell up and move to Wales. A bit of a homecoming, if you will, as my husband and I are both from Wales and indeed our respective families are still entirely based there.
Trips over the border spanning the last twenty years have made us frequent visitors until Covid-19 swept across the country, leaving us trapped in a flat with no garden and no way of escaping the city. Like many others during 2020, we began reflecting on what was most important to us as we found ourselves relying on a daily walk around a fairly uninspiring corner of south-west London to provide exercise and some desperate, grasping attempt to connect with nature.
With no school or job to go to – let alone theatres, restaurants, museums or any of the lovely things that make London so frenetically enjoyable – my little family’s need to find our own patch of land, a sanctuary far from the madding crowd – eventually became an overwhelming desire that could be ignored no more.
So, we are about to embark on our newest (and some might say long overdue) adventure; throwing caution to the wind as we return to our Welsh roots. We are looking forward to enjoying more time with our families and we can’t wait to embrace a more grounding, outdoorsy life – even if ‘outdoorsy’ mainly consists of spending time in our own garden, which will be a glorious novelty in itself. Beaches, countryside and the purest thrill of all – clear, starry night skies – will be our ‘new normal’.
As a self-confessed London junkie, I’m bracing myself for the transition. On paper it’s a no-brainer, but I know it’s going to be hard. After all, I have revelled in making this city my home. I am a fast-walking, impatient, tourist-tutting Londoner through and through. I’ve spent my entire adult life working in casinos and much of it based in a West End whirlwind; I’m used to dealing with some of the most awkward, excitable, angry, and frankly miserable customers of any industry anywhere. The cramped chaos of the tube with its metallic gusts of warm air makes me feel like home. City life not only excites me, it nourishes me – until Covid caused it to grind to a halt.
Stepping out of my comfort zone scares me. We used to joke about anywhere outside of the M25 being “the countryside”; but I know it’s time to face the fear and do it anyway, as Susan Jeffers famously advised. When I first came here at the beguilingly impressionable age of twenty-one, I had vague dreams of ‘making it’. I flitted through colleges studying costume design and cake decorating and daydreamed about eventually owning a little house somewhere central (ha!) and of course it never happened – I was one of many led astray by Richard Curtis fairy-tales. But I’ve had a good run of it in the Big Smoke. I met my husband here and we’ve been blessed with a beautiful daughter; on reflection I rather think I did ‘make it’ after all.
London will always be here, and I look forward to visiting several times a year. I love nothing better than a trip to the theatre; I’ll meet with pals and make a bloody good weekend of it. And it’ll be like no time at all has passed; I’ll power walk to the tube, automatically stand on the right, and I’ll remember all the shortcuts to my favourite places. Slipping seamlessly back into the fast-paced, hot mess of the city because once a Londoner, always a Londoner. To quote Snow Patrol – I love this city tonight, I love this city always.
Anyway: On to the recipe!
And what a recipe it is! I’m very happy to share with you my veganised version of Nigella Lawson’s incredible Chocolate Peanut Butter Cake (the original recipe is here) taken from her most recent book, the wonderful Cook, Eat Repeat – which also features (and I still can’t believe I’m saying this) my vegan version of Nigella’s Lemon Polenta Cake.
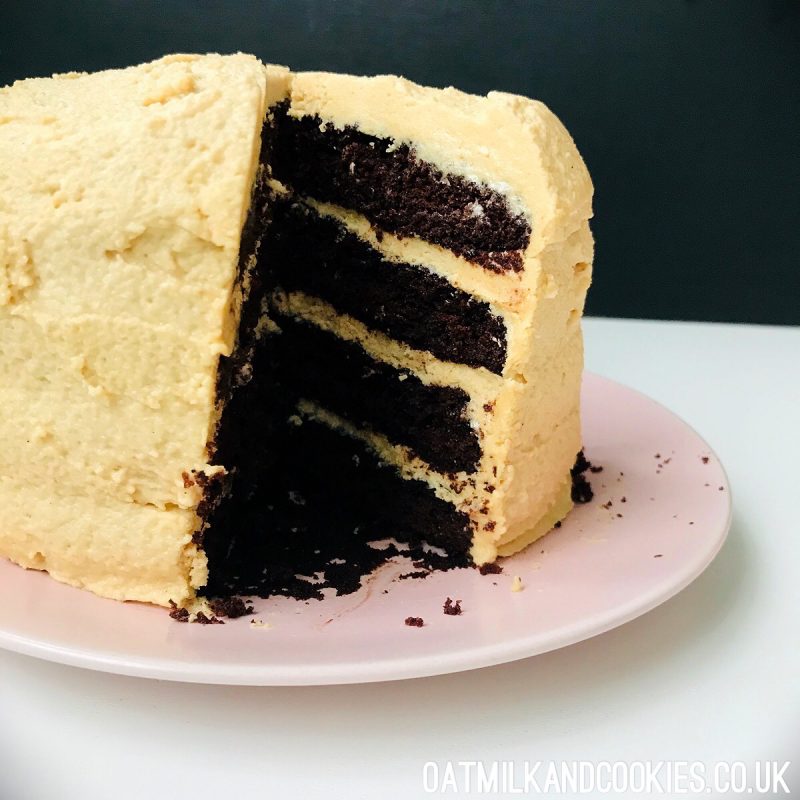
This chocolate peanut butter cake, accurately described as the cake of dreams, is the definition of no holds barred pleasure. The tender chocolate sponges are layered with a flamboyantly fluffy peanut butter frosting resulting in a celebratory cake destined to become a party favourite – when parties are a thing again, of course.
I have stayed as true to the original ingredients and quantities as I possibly can and I use readily available, straightforward vegan replacements where necessary. The result truly is a triumph – the family declared it the best cake I ever made!
For the wow factor, I really do enthusiastically recommend the special piece of kit as used in the book – a Wilton ‘Easy Layers’ Cake Pan Set (8″). These inexpensive shallow tins are not only useful for this cake, they make any vegan tiered cake an absolute breeze. Eggless sponges are delicious but notoriously fragile and near impossible to slice into layers – this set eliminates those concerns and has been a bit of a game-changer for me.
Of course, you don’t need special tins – you can simply divide the mixture between two 8″ round cake tins instead, in which case I cautiously recommend that you add an extra teaspoon of baking powder and increase the baking time to around 30 minutes (this is an estimate, as I haven’t made it this way yet – if you try it, let me know – and if I try it, I’ll update this post). ***Update 22/3/21 – I have tested this recipe using two 8″ round cake tins and had excellent results! I added one extra teaspoon of baking powder and baked for 27 minutes. Check after 25 minutes as ovens do vary.***
For the cake:
100g sunflower oil
100g soft dark brown sugar
125g caster sugar
285ml hot water from a recently boiled kettle
2 tsp natural vanilla paste or extract
2 tsp apple cider vinegar
250g plain flour
50g cocoa powder
1 tsp baking powder (add an extra teaspoon if using two 8″ cake tins instead of the shallow 4-tier set)
1 tsp bicarbonate of soda
To finish: a handful of crushed, dry roasted peanuts (optional)
For the Icing (Two layer quantity – double up if using the four-tier set – see notes below)
300g icing sugar, sifted (sorry)
150g vegan block butter
200g smooth peanut butter (the cheap stuff is best here, save your earthy brands for your toast)
1 tsp vanilla
1/4 tsp fine sea salt
60g plant-based cream (I use Alpro single soya cream)
Notes about the icing:
- The quantity above is recommended for a very generously iced two-layer cake. Nigella suggests doubling up if using the four-tier pan set. However, I find the original amount, spread a little thinner, also gives decent coverage for the four tier set. This is plenty for us; but obviously not enough for an extravagantly iced showstopper. So it’s really up to you and the kind of finish you want for the cake – if it’s a knock-out party cake you’re after, then double up!
- You will need to use a solid block butter such as Naturli (which is palm-oil free), foil-wrapped Stork or Flora Plant Based block. I’ve tested this cake using all three. Don’t even think about using something spreadable from a tub – it won’t work as well.
- Nigella advises sifting the icing sugar – all of it – and with good reason. I’m a bit cavalier when it comes to sifting and the first time I made this cake, I didn’t bother. My mistake! For the fluffiest, lump-free frosting, there’s no escaping it.
To Make The Cake:
Fully preheat your oven to 180c/350f/gas mark 4 then lightly oil your tins and line each one with a disc of baking paper.
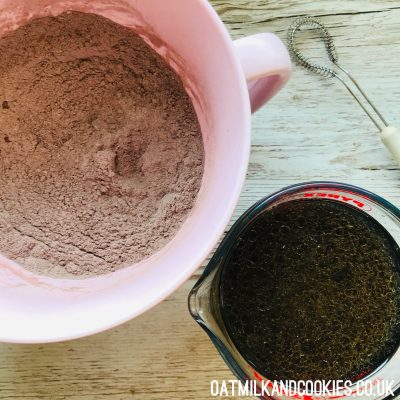
Measure the oil and sugars in a heatproof jug and pour in the hot water, vanilla and vinegar. Stir until the sugar is dissolved, then set this mixture aside. In a separate bowl, combine the flour, cocoa powder, baking powder and bicarbonate of soda.
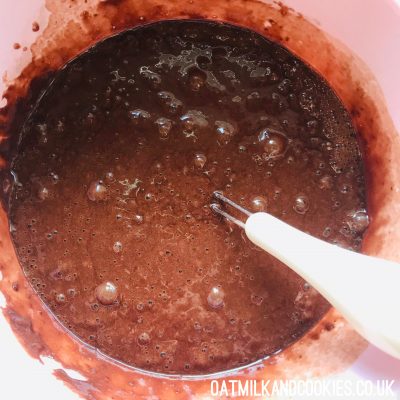
Using a small hand-held whisk or similar, whisk the wet mix into the dry mix. Work quickly and lightly and remember to scrape down the sides of the bowl with a spatula. Vegan cakes are easily overworked; just mix until you have a smooth batter with no remaining dry bits.
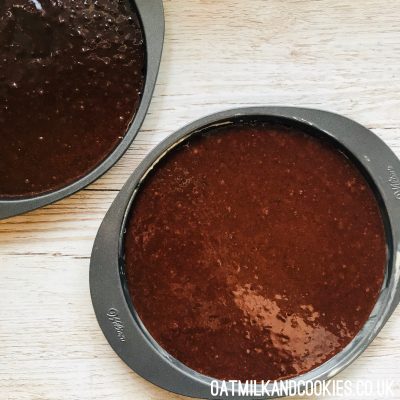
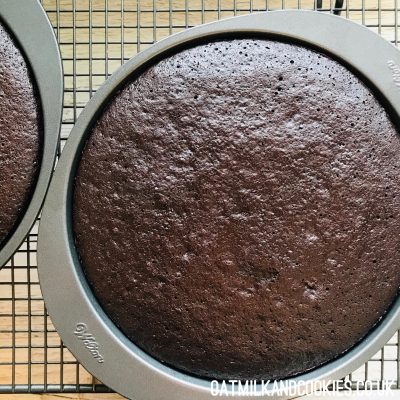
Pour this chocolatey batter into your prepared cake tins (if you want to be really picky, it’s approximately 225g per tin). Tap the base of each tin on the kitchen counter a couple of times (helps eliminate air bubbles) then get them in the oven, pronto. I can fit two tins side by side over two shelves.
Check the four shallow layers after 12 minutes; the cakes should be risen and they’ll spring back when you very gently press them. I find that the two layers on the lower shelf need 2 minutes extra cooking time. They really don’t take long; be careful not to over-bake as you’ll end up with a very dry sponge. If you’re making two thicker layers, I estimate they’ll need to cook for around 25- 30 minutes.
When the cakes are cooked, place them, still in their tins, on a cooling rack until completely cold. This really doesn’t take very long – maybe half an hour by a cold window. Meanwhile, you can make the icing!
To Make The Icing:
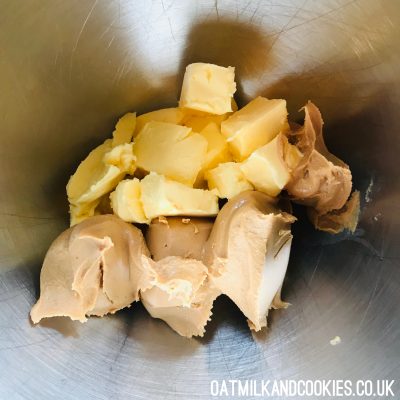
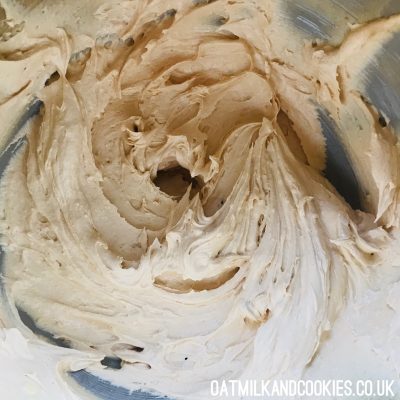
Sift the icing sugar into a large bowl and set aside. Then, in another large bowl (or your mixer bowl – I use a Kitchen Aid for this) beat the butter and peanut butter until light and fluffy. This will take several minutes so be patient!
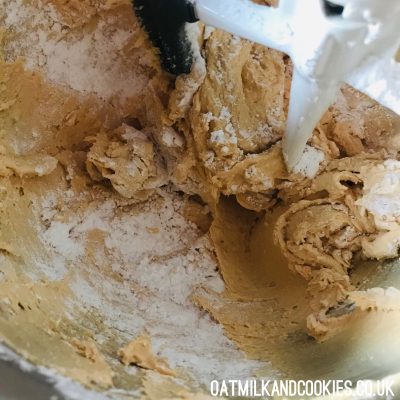
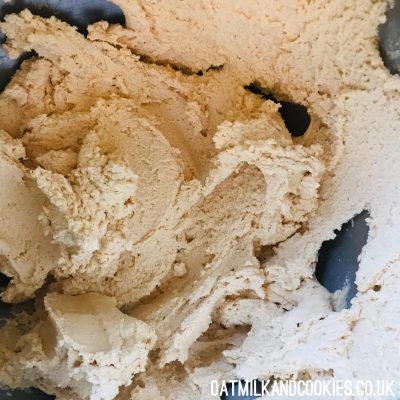
Reduce the speed and sprinkle in the vanilla and salt, followed by the sifted icing sugar, a heaped spoonful at a time. Once all the icing sugar has been used up, increase the speed and beat for another couple of minutes. It’s worth scraping down the sides of the bowl at this point, to make sure nothing has been missed. The icing will look kind of ‘dry’ at this point.
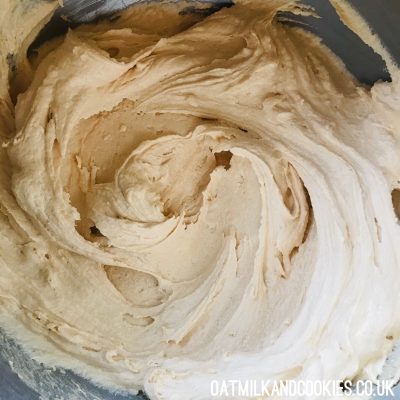
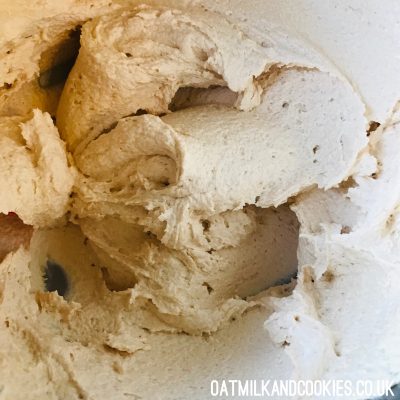
Reduce the speed a little again and slowly pour in the cream. The icing will quickly look glossy and creamy. For the final flourish, increase the speed once more and beat until it transforms into a beautifully fluffy, moussy-looking frosting – this will take around 5 minutes.
To Assemble:
Carefully remove your first cake layer from its tin and remove the baking paper. Flip it on to a plate, and put a good dollop of icing in the centre. Spread generously all over – a palette knife is best for this. Try not to nibble too much as you go.
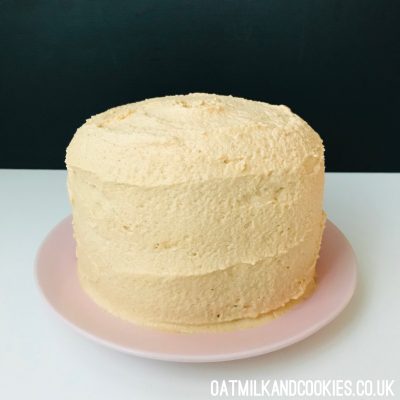
Place the second layer on top (don’t worry about any icing oozing over the sides) and continue as above until all layers are completed, see picture below. Now you can ice the top and sides – smoothing carefully and neatly as you go. I just used my small palette knife, but a decorative side-scraper for cakes would be pretty cool here, too.
Once you’re happy with it, sprinkle the top with a handful of crushed, dry roasted peanuts – or leave it plain.
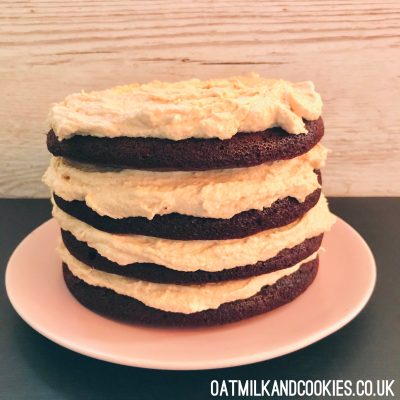

I’m so glad I found your version of this recipe! I made the cake for my nephew’s birthday this weekend. he can’t tolerate eggs but I knew he was quite taken by the picture in nigella’s book. It made his day, thank you
Thank you, Susan. I’m so pleased your nephew enjoyed the cake! Katy